Our project – the Mercedes-Benz – is out of the box and the lid is off the glue canister; it‘s time to get this project under way.

Photo: First step is to identify and cut from the sprue all parts required for stage one.
Looking at the detail quality as well as the precision of the extrusions, we are again reminded of why we enjoy building Italeri kitsets so much. The first step after making ourselves familiar with the build sequence detailed on the instruction sheet is to identify and cut from the sprue all parts required for stage one of the build. When cutting the individual parts from the sprue I find it best to use a pair of fine-bladed electrical side cutters. The side cutters do not stress the parts as you are cutting in free space, rather than the opposite if you were to use a hobby knife. When cutting with a hobby knife there is risk of the part being damaged, as excessive force is required to push the blade through the plastic sprue while resting the sprue against a solid surface – an accident waiting to happen. Once you have accumulated all the required parts for stage one, lay them out as shown in the instructions to confirm their location.
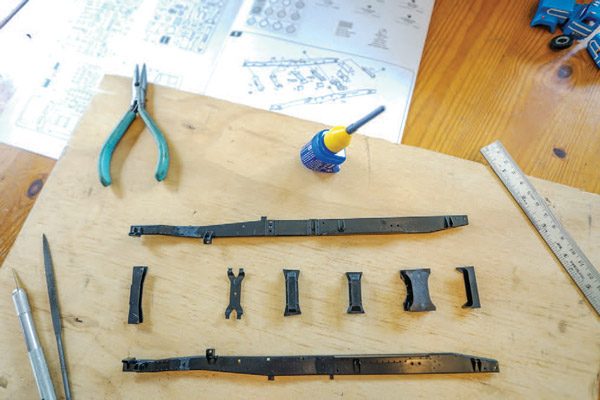
Photo: To prevent mistakes, lay the pre-assembled cross members out in placement order before starting assembly.
You will find certain parts require pre-assembly before the main assembly of the stage can occur. For example, in our kit there are three cross members for the chassis that are made up of three individual parts each. Take your time and ensure that the correct parts are identified. Study them by dry test-fitting first before using any glue. Once confident with the placement, it is time to apply the glue. Today‘s glues for plastic kitset building are more of a liquid solvent that is applied via a very thin tube on a small bottle, and in some cases a small brush attached to the underside of the lid. The liquid solvents are very effective and very little is required, as when it is applied between two parts it is drawn in by capillary action, effectively welding the pieces together. Now that the pre-assemblies are bonded together it is time to bring the chassis together.
Everyone has their own approach, but I tend to start a chassis assembly by laying one of the rails on the bench on its side. Then starting from the rear of the rail, fit the cross members into place one at a time, gluing them as you go. This way you are not juggling a gluey mess, instead using gravity to hold everything in place for you. Now apply a little glue to the locating tabs on the opposite rail where the cross members will meet to soften the plastic in readiness. Bring the opposite rail into place, locating all the cross members to the pre-glued locations, and gently apply pressure to sandwich the assembled chassis together. Apply more glue as required to all points where the cross members meet the chassis rails; not too much, but enough to form a good bond, as this is the backbone to your project.
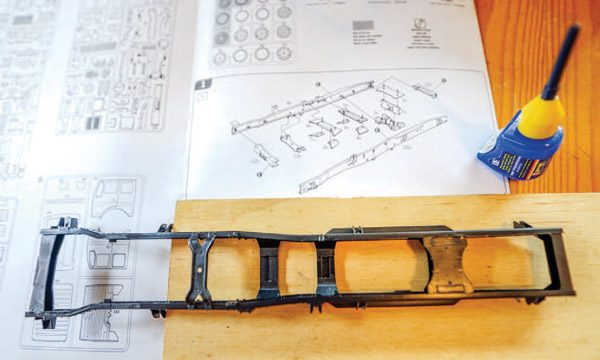
Photo: Once glued and checked for straight and true, place the completed chassis on a flat surface to set; a good 24 hours for optimum strength.
At this time while the glue is fresh and has not set, it is very important to ensure the chassis is straight and true. To do this lay the chassis flat on its back on a flat surface; this way you can eyeball it and see any twists or bends. If there are, this is the time to correct them by reshaping with a touch of friendly manipulation. Once you‘re happy it is aligned, carefully set it down on a flat, stable surface where it can dry and set. Today‘s solvent-based glues are quick-acting and you could in some instances continue with the build within a few hours. I tend to give the chassis a good 24 hours or so to set rock solid; as I previously mentioned, this is the structural backbone that the entire build relies on. And there we have it, an assembled chassis. Next time we start fitting the running gear.

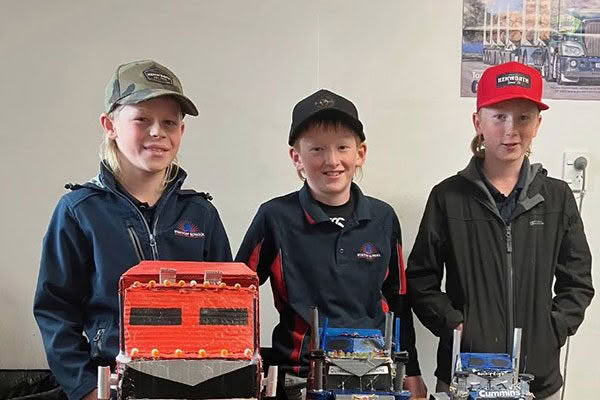
Photo: Our subject matter, Pilkington Automotive Glass Ken Kirk circa 1992.
![]()
![]()
![]()
![]()